
Brands can get started with creating their own Facebook Frames by going to the Camera Effect Frame and clicking the big blue “Get Started” button.
You are greeted with this window.
Once you get started, you’ll be taken to a screen that looks like the below image. Click the “Create Frame” button to start designing your frame.
The main Facebook Frames interface.
An overlay will appear, where you can start inserting images and categorizing your frame. I recommend clicking the “Download a Template” link to download a sample Photoshop PSD file that has all the instructions you need, and a template for creating your frame. You can see some of the instructions included in the PSD below:
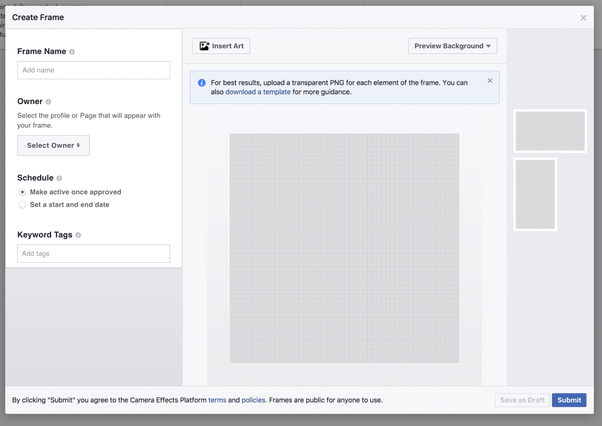
The Frame editor
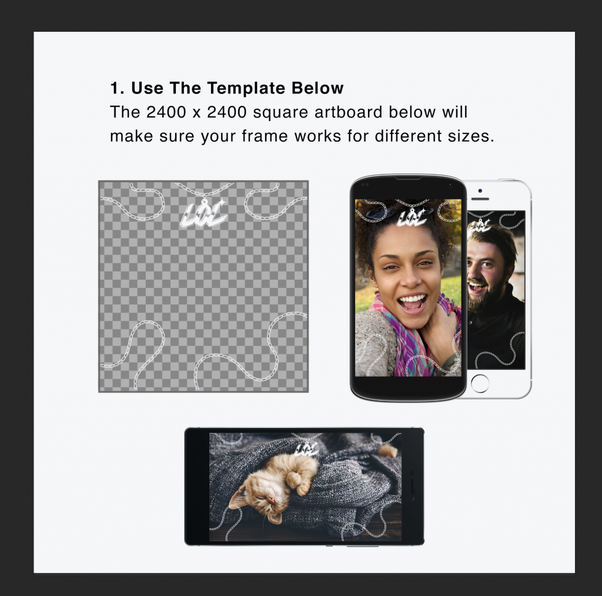
Step 1 in the PSD template
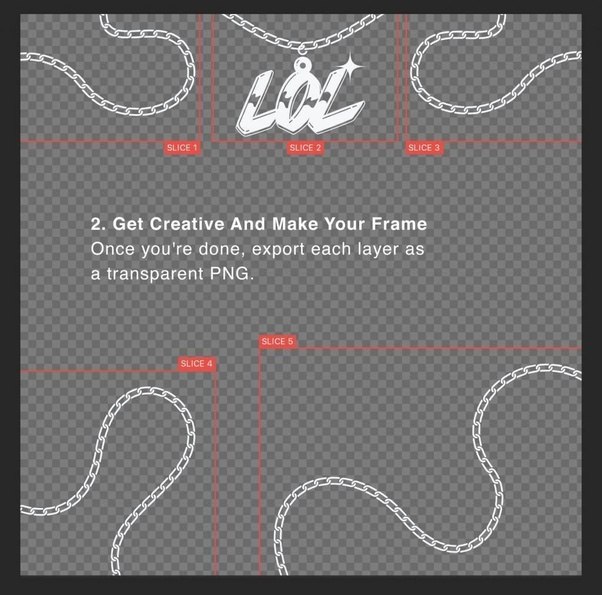
Step 2 in the PSD template
Step 3 in the PSD template
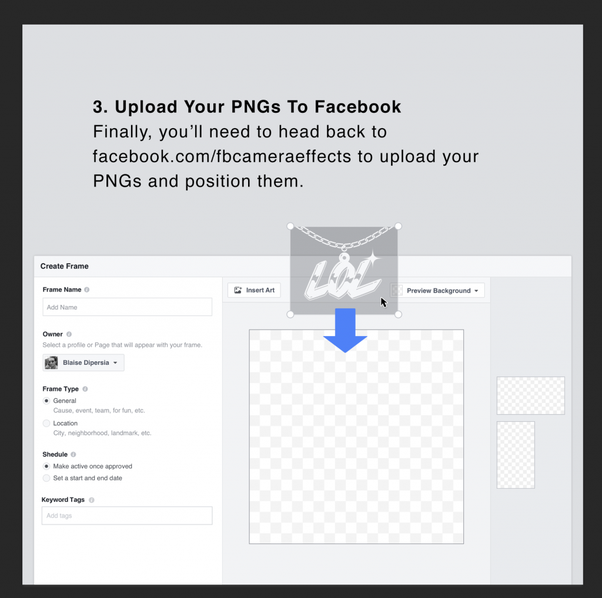
As you design your frame you’ll want to be sure to separate out the images, as specified in the template steps above. Save each individual image, and then you can start adding them to your frame. Facebook recommends adding them separately so that as the user uses your frame on a phone in portrait or landscape, or on a desktop, the frame can expand and contract as necessary, not interrupting the beautiful statement you just created for your users. Once you upload all your images this is what it looks like:
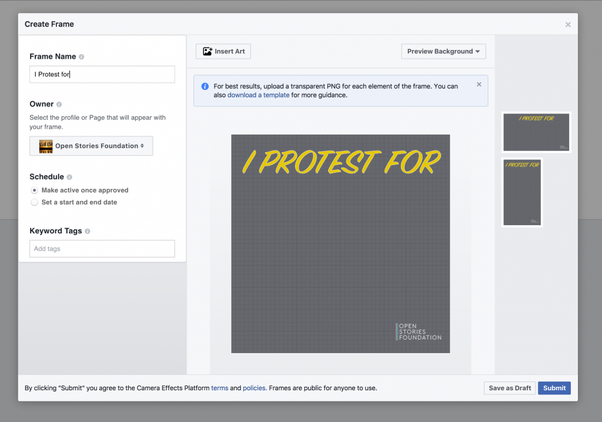 Under “Keyword Tags” you can also specify some tags you want your frame to appear under if people search. This will be particularly useful the bigger the Frames database gets. In addition, you can set a start and end date, or have the Frame go live immediately after it’s approved. This will allow for temporary campaigns where people can share their pride for just a day, a week, or a month, for instance. It’s unclear how to make Frames available just to a local area, but my guess is this will be available to Pages that have a location attached to them. None of the Facebook Pages I had access to used this feature so I’m not sure if that’s how it works. Comment below if yours has this feature!
Lastly, click “Submit” and your frame will be ready and submitted for review. Facebook says it can take up to a week to get approved, so stay patient. I anticipate you’ll get a notification when this goes live. Then, once it’s live notify your Page fans that they can start using it and now all of your brand’s audience can show their enthusiasm using the Frame or Frames you just created!
And that’s it! I’m sure Facebook will be expanding on this feature in the future – I’d love to see it integrated into Facebook advertising, for instance. Perhaps an advertiser could target an audience to start implementing the Frame as their profile picture. There are so many possibilities for this and I’m really excited to start getting my clients using it.
#flower #flowers
